Published November 21, 2022
Phases of New Construction

Phases of New Construction

Congratulations! We are so excited to work with you during the build of your new
home. We wanted to put together this quick guide so that you would know what to
expect during the build process and the different phases that occur once you sign the
purchase agreement with the builder.
1. Permits and site prep: If you are doing a build from scratch where you picked
the lot, floorplan, finishes, etc., as soon as documents are signed and processed,
the builder team will get busy on getting permits and the site prepared for the
build - this includes, clearing the lot, any leveling that needs to occur and if on a
slab, prepping the slab and the under plumbing.
2. Foundation: Your foundation will either be a monolithic slab, raised
slab/stem-wall or on a crawl space. In some cases, you will have a walk-in crawl
space, or a basement foundation.
a. Monolithic slab - a one step, one pour process. It is typically significantly
thinner than a crawl foundation
b. Raised Slab/Stem Wall - Stem walls are used to connect the foundation of
a building to its walls. They rise above the ground level to provide a raised
platform for placing the building slab. They fill in the area with structural
sand and compact it. Then they pour the foundation over it. This makes
the home sit higher than what a monolithic slab would provide as well as
helps prevent water intrusion and is considered to be more aesthetically
pleasing.
c. Crawl Space - these consist of exterior concrete walls that elevate the
bottom of the house 18 inches or higher above grade (ground level), which
will provide an accessible area to reach plumbing and wiring should it
need future maintenance. Crawl space foundations usually require
additional support walls beneath the interior of the house as well. Crawl
spaces work better on sloped lots than slabs.
d. Basement Foundations - there are three different types. What is the most
common in the Triangle area is the walkout/daylight basement.
i. Full Basement - covers the entire perimeter of the home and the
entire basement floor is submerged on a level plane. They can be
finished or unfinished and will only have small windows (if any) that
would be at ground level.
ii. Walkout/Daylight Basement - These occur when the building rests
on a slope. One side of the basement will be fully submerged, while
the other side will sit above grade. This allows for windows and
light, as well as accessibility to the outdoors from the basement.
iii. Crawl Space - This is also called a “tall crawl” and is a walk in crawl
space. This is a less expensive alternative to adding a basement if
the lot is sloped.
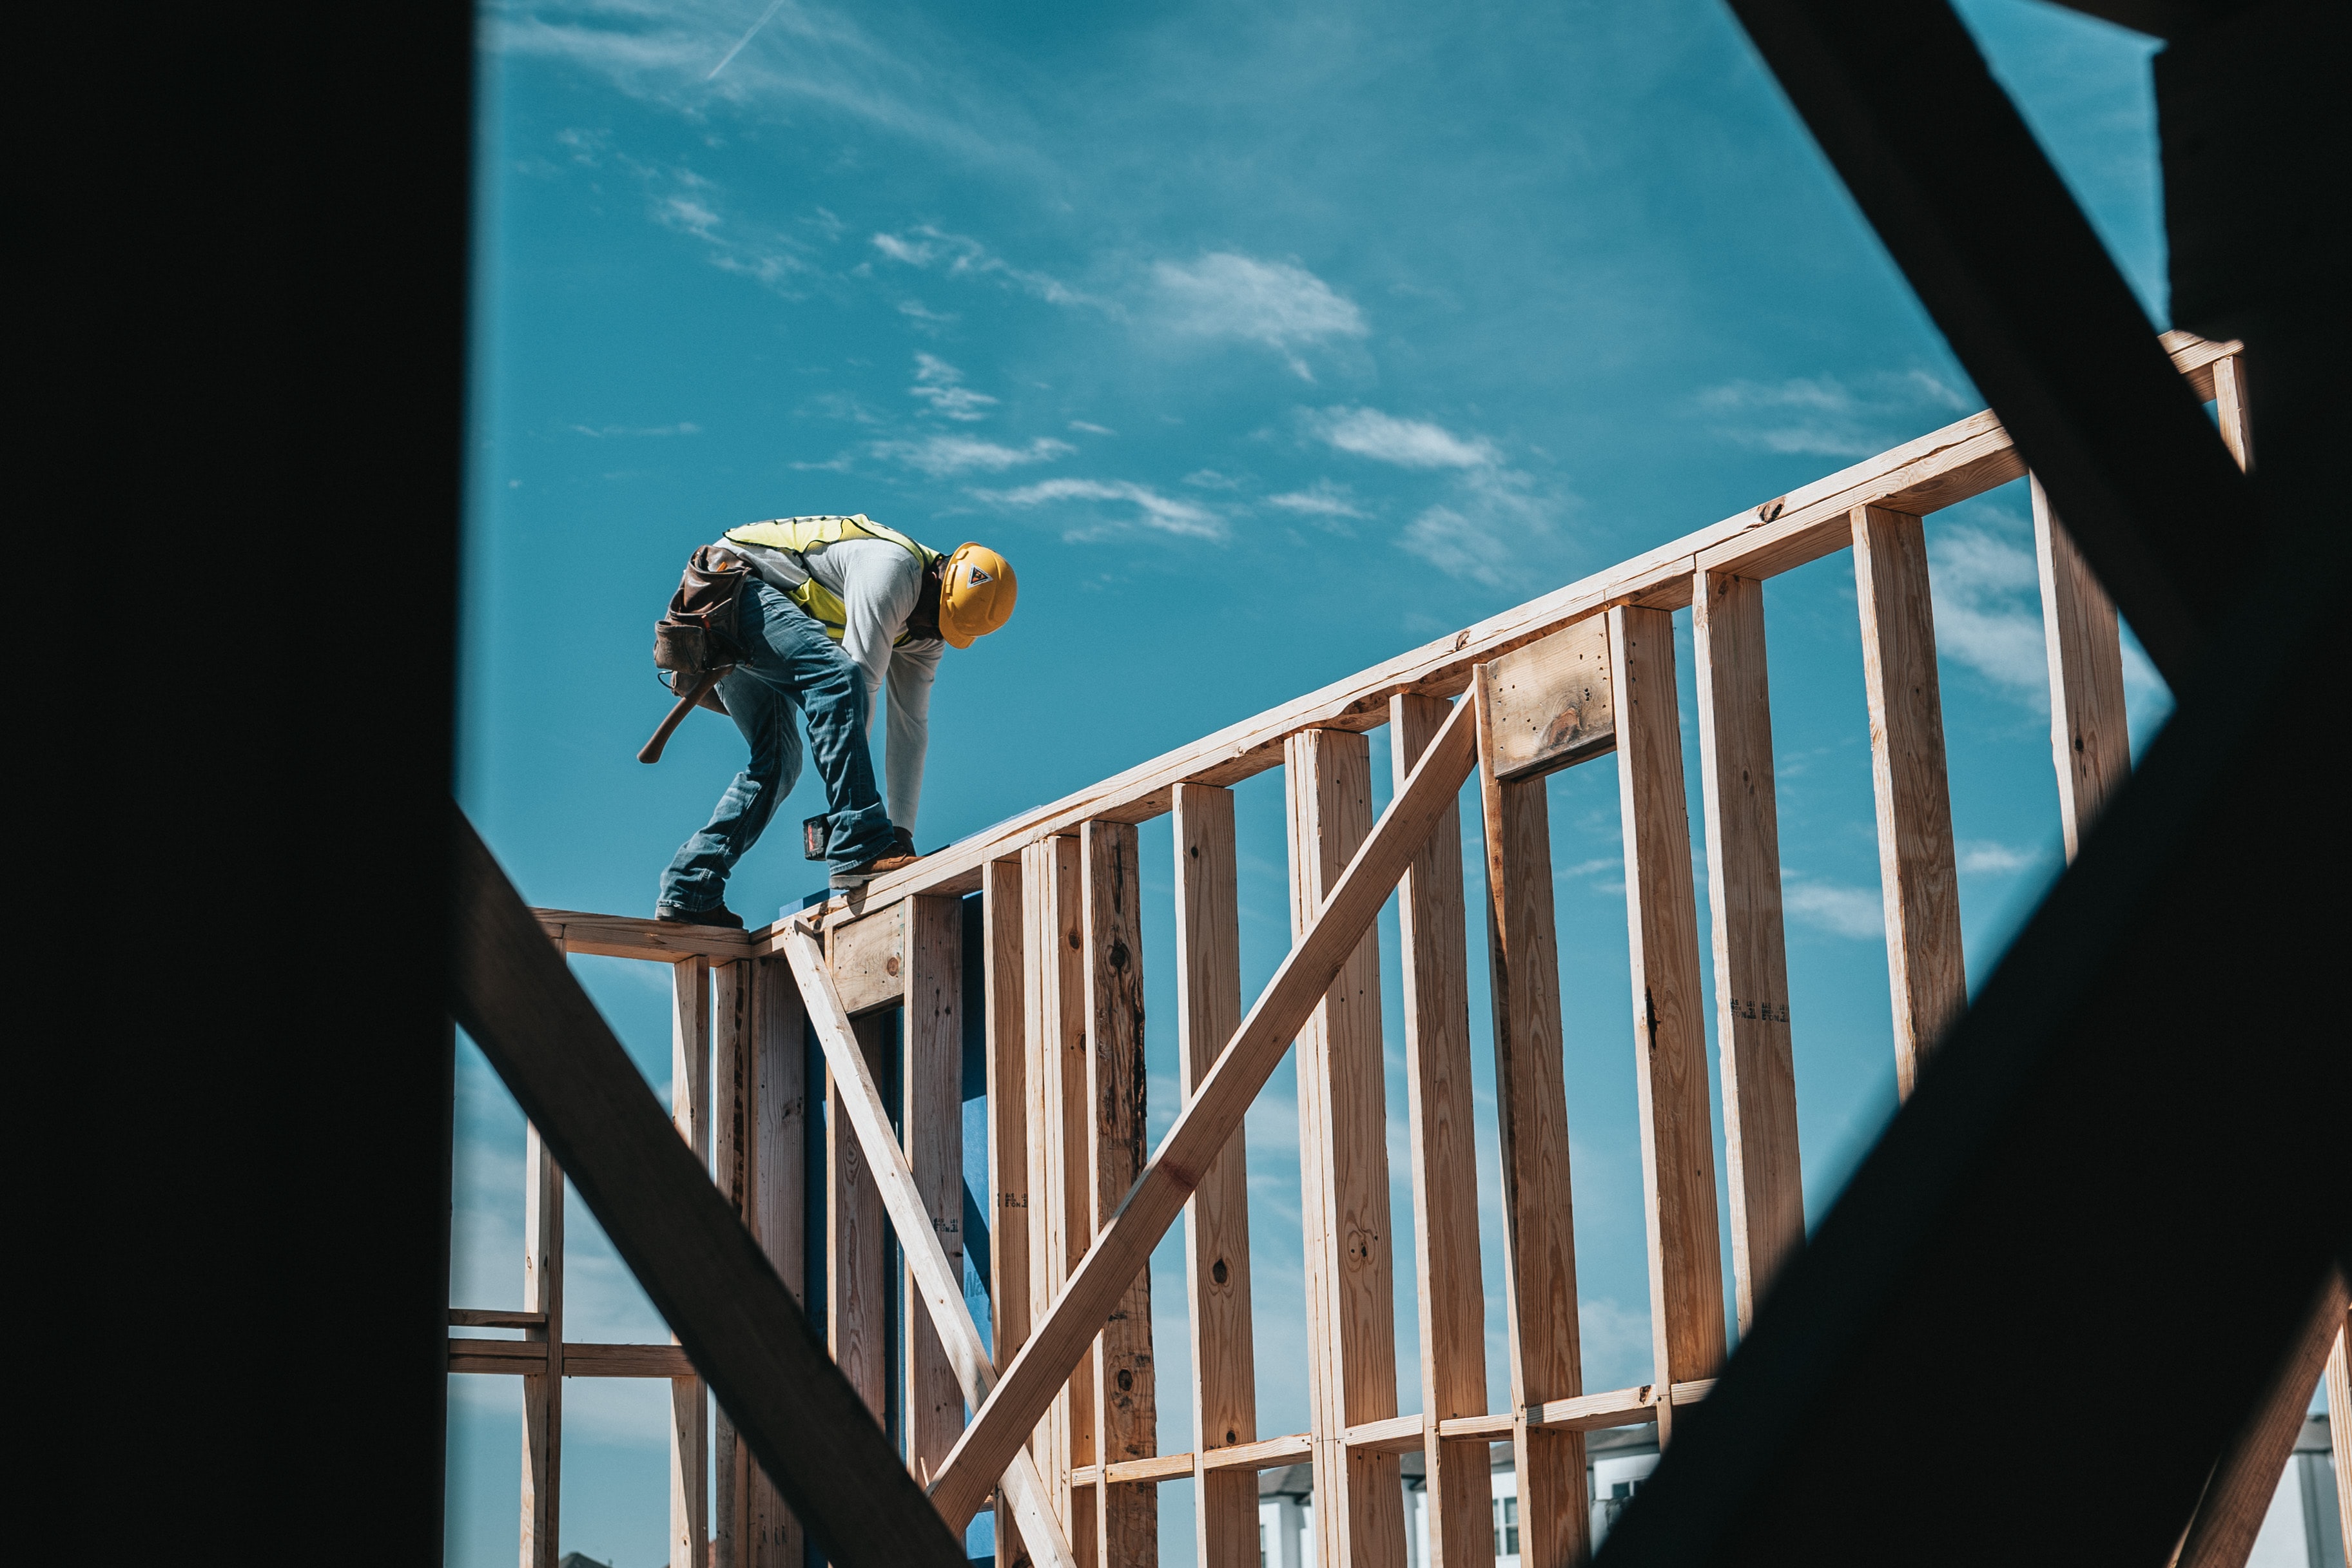
3. Framing: You will hear a lot of project managers and builders say that your house
is going “vertical.” This means that they have started framing. This is an exciting
part of the build process because you can now start to see how your home is
going to look. During this process, the subfloor, walls and roof structure are all
built, and the roof is shingled. You will also see the openings for windows and
doors. These will be closed in before you go into drywall.
4. Rough-Ins Now that you have a roof and walls up, it is time for all the
mechanicals to go in. This will include electrical wiring, HVAC and ductwork,
plumbing and any other wiring (like low-voltage) are completed. Once these are
done and signed off on, you will most likely be called in to do what is called a
Pre-Drywall Walk.
5. Pre-Drywall Walk: This is a great time for you to walk the property with the
Project Manager/Builder and your agent to make sure outlets are where they are
supposed to be, any additional wiring (like extra outlets, internet connections,
etc) are in the correct spots. It is a lot easier to fix that now before the walls are
up, then after. You should also take pictures of the walls so that you can see
where plumbing and electrical is going so that when you move in and hang items
on the walls, you don’t accidentally puncture a pipe, or hit a wire. This walk is also
where you will be told your closing date.
6. Drywall: This is kind of the halfway point of your home build. After the
walkthrough, insulation will go up on the walls and they will start to hang the
drywall. This is also an exciting time b/c you will really start being able to see the
home coming together.
7. Exterior Finishes: This also happens around the same time as Drywall -
sometimes before (depending on when trades are available). You will start to see
exterior siding, trim and stone/brick work occur. Things are really starting to
come together!
8. Interior Finishes: Cabinets, flooring, lighting, countertops, plumbing fixtures are
all starting to be installed. Interior paint and trim is being completed. Once
everything is in, the Project Manager/Builder is going to invite you to a
Pre-Closing Walk. This is a meeting you will not want to miss, and you want to be
sure your agent is included in the invite.
9. Pre-Closing Walk: This will occur about 1-2 weeks before closing. The
PM/Builder will walk you through the house, introduce you to all the systems and
overview of all the items/warranties in your home. There is a lot of information to
go over in these meetings, so be sure to take notes and have your agent with you.
At the end of the walk, the builder will give you and your agent to walk the home
and “blue tape” things that need to be addressed/fixed prior to closing. TAKE
YOUR TIME and do not rush this walkthrough. This is your opportunity to get
everything you see in the house that needs to be addressed and taken care of.
The PM/Builder will create a list of the items taped and you will sign off on it.
10.Final Walk/Closing: You made it!!! The Certificate of Occupancy has been signed
off by the county and your new home is now complete! It has been a long journey
and you have one more walkthrough before you go to the closing table. The
purpose of this walkthrough is to make sure the items that you had on the list
have been completed and that the home is cleaned and move-in ready. There are
a couple of things to keep in mind during this walkthrough:
a. If you see new items that need to be addressed, they will most likely
become warranty tickets for after closing - unless it is something
egregious that would prevent you from being able to occupy the house.
b. There may be times that the builder has to wait on a trade and an item on
the list has not yet been completed. Usually these are smaller items that
do not impact being able to occupy the house and the builder will still
expect you to close on the home. Refer to your purchase agreement on
how the builder handles this.
We are here to walk with you through each step of the process; reach out at WelcometoCarolina.com
|


or another way